Titres et transitions
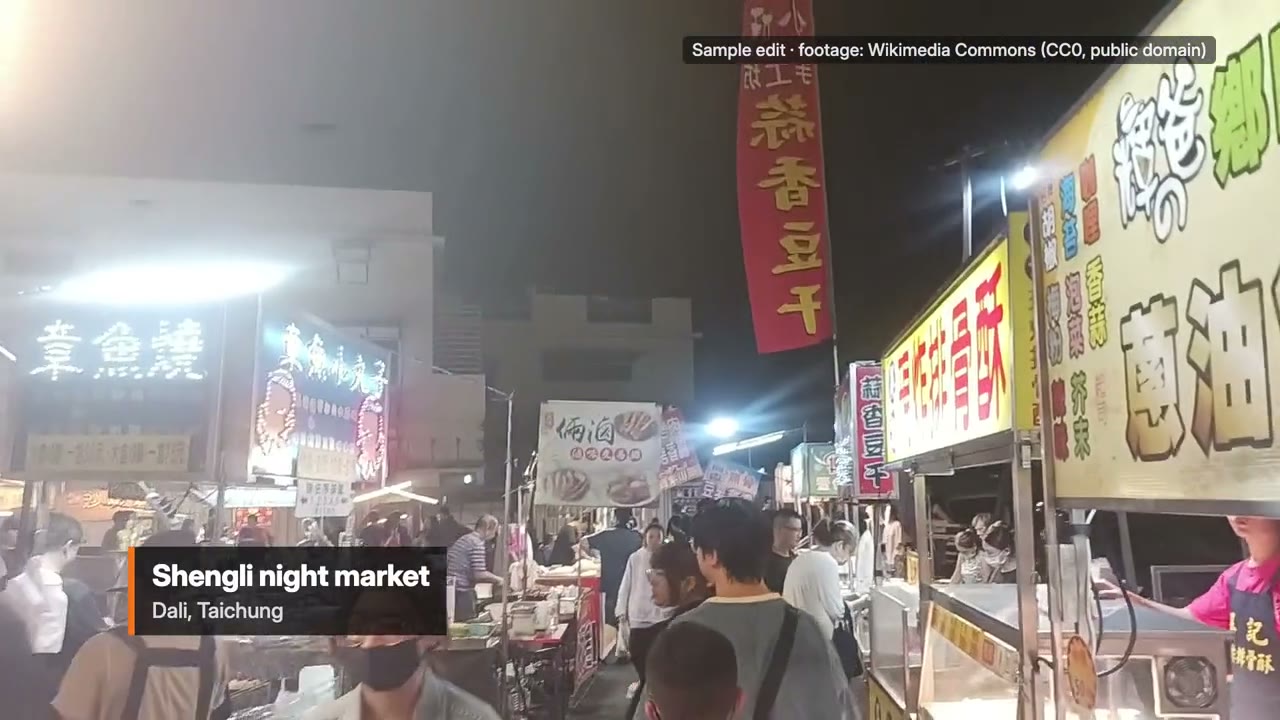
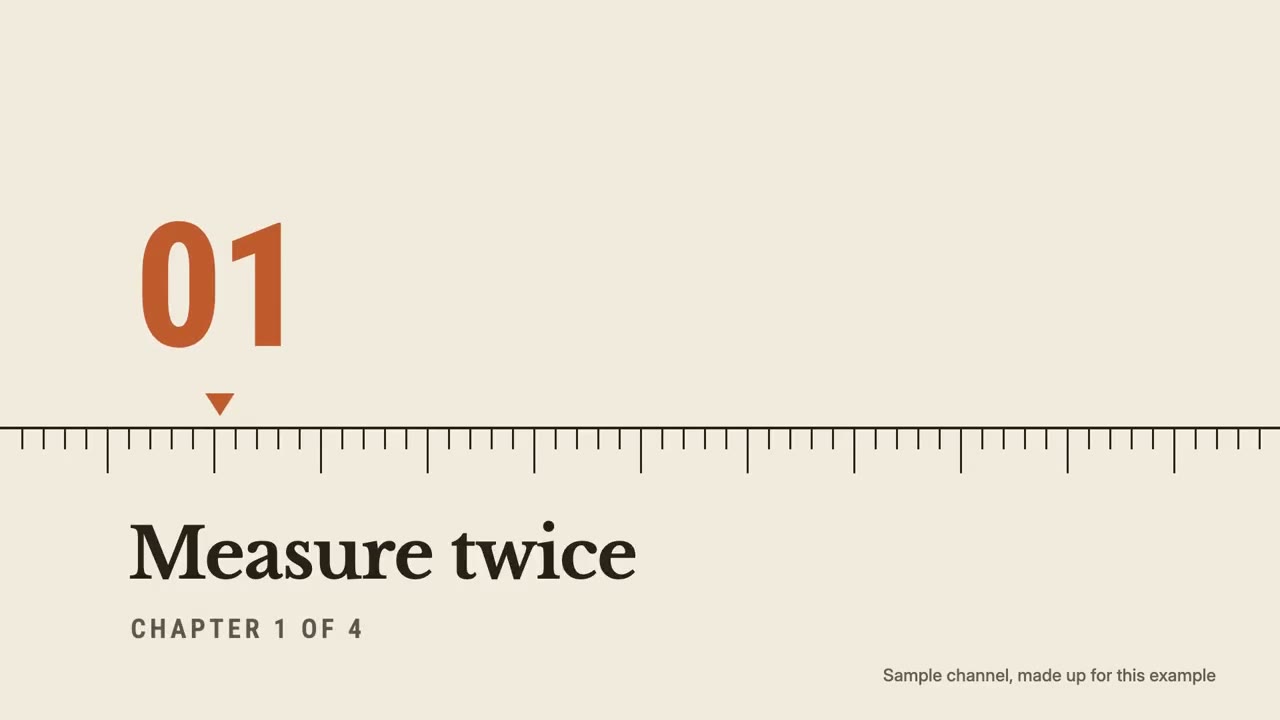
Ouvertures, cartons de chapitre, synthés et transitions assortis à votre montage, en un kit, avec habillage sonore.
Titres et transitions : ses films d'exemple et ses styles →
Comment ça marche
- 1Copiez le prompt d'installation et collez-le dans votre agent.
- 2Votre agent lance mo doctor pour vérifier Node.js, FFmpeg et Chrome, et vous dit comment installer ce qui manque.
- 3Donnez-lui vos contenus. Il génère un MP4 sur votre ordinateur, et vous demandez des modifications avec vos mots.
Collez-le dans Claude Code, Codex, Cursor ou tout agent compatible avec les skills.
Films qu'il a réalisés
Ce qu'il vous faut
Aucune clé APIUn seul de ces éléments suffit
- Un document, article ou script
- Un logo ou une marque
Dépendances
Node.js 22+, FFmpeg, Chrome. Aucune clé API.
Avant de commencer, votre agent lance mo doctor pour vérifier Node.js, FFmpeg et Chrome et vous dit comment installer ce qui manque ; si ce skill a besoin d'autre chose (comme whisper pour les sous-titres), ses instructions le précisent.
Use the titles-director skill to make an opener, chapter cards and lower thirds for my tutorial, matched to these clips, with transparent overlays for Premiere.
Make a kit of titles for my video, for [who will watch, e.g. viewers of our YouTube videos]: a 4-second opener with [channel name], chapter cards for [chapter names], lower thirds for [names and places], and transitions between my shots. Use only the words I give. Take the colours from my footage, keep one font pair and one way of moving for everything, and make each transition follow a shape or motion in the shot it leaves. End each element transparent so it sits on my edit.

Channel: [name]
Chapters: [names]
Attach: [stills of the footage]
Rien à installer : collez-le dans Claude Motion (Team ou Enterprise) ou donnez-le à Opus 5.5 pour un style proche. Le résultat change à chaque exécution ; le skill, lui, part de vos propres contenus et fait le rendu sur votre ordinateur.