← すべてのスキル
ウォークスルー映像
プロダクトを画面の中で実際に使って見せる。3 ステップの導入や機能デモを音楽付きで。
使い方
- 1インストール用プロンプトをコピーして、エージェントに貼り付けます。
- 2エージェントが mo doctor で Node.js・FFmpeg・Chrome を確認し、足りないものがあれば入れ方を案内します。
- 3素材を渡すと、お使いのパソコンで MP4 を書き出します。直したいところは言葉で伝えるだけです。
Claude Code、Codex、Cursor などスキルに対応したエージェントに貼り付けてください。
このスキルで作った映像
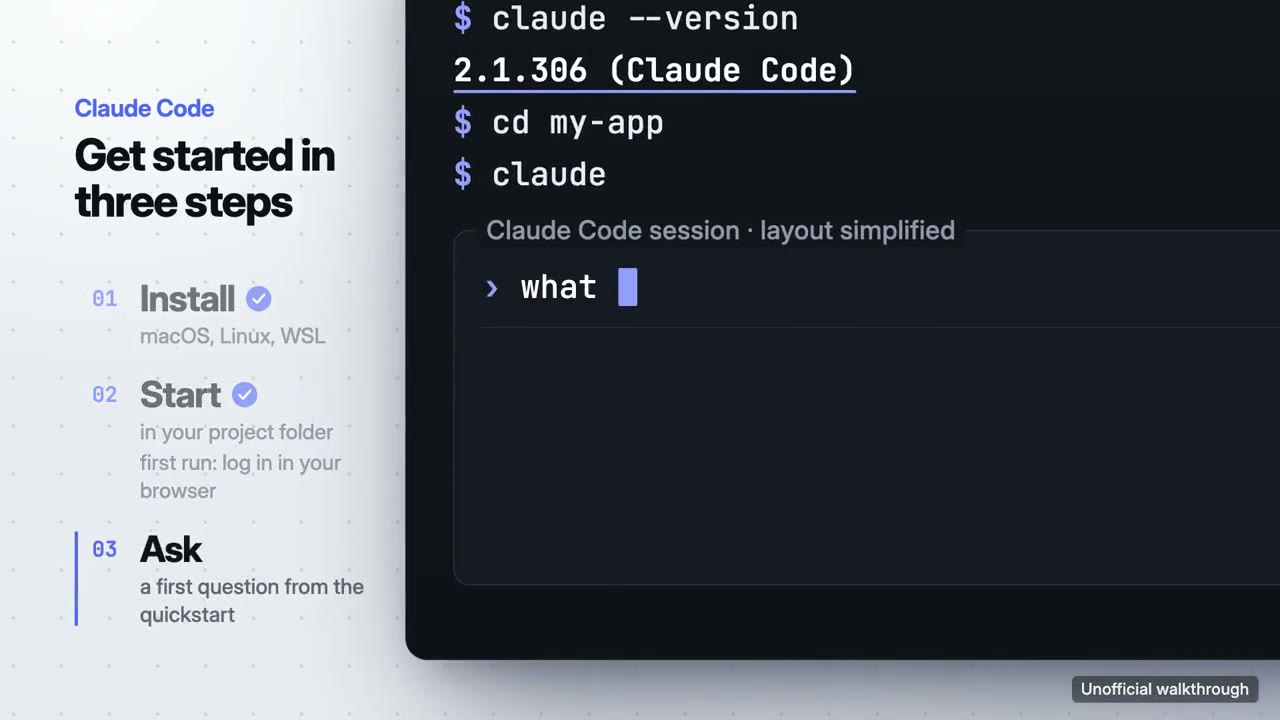
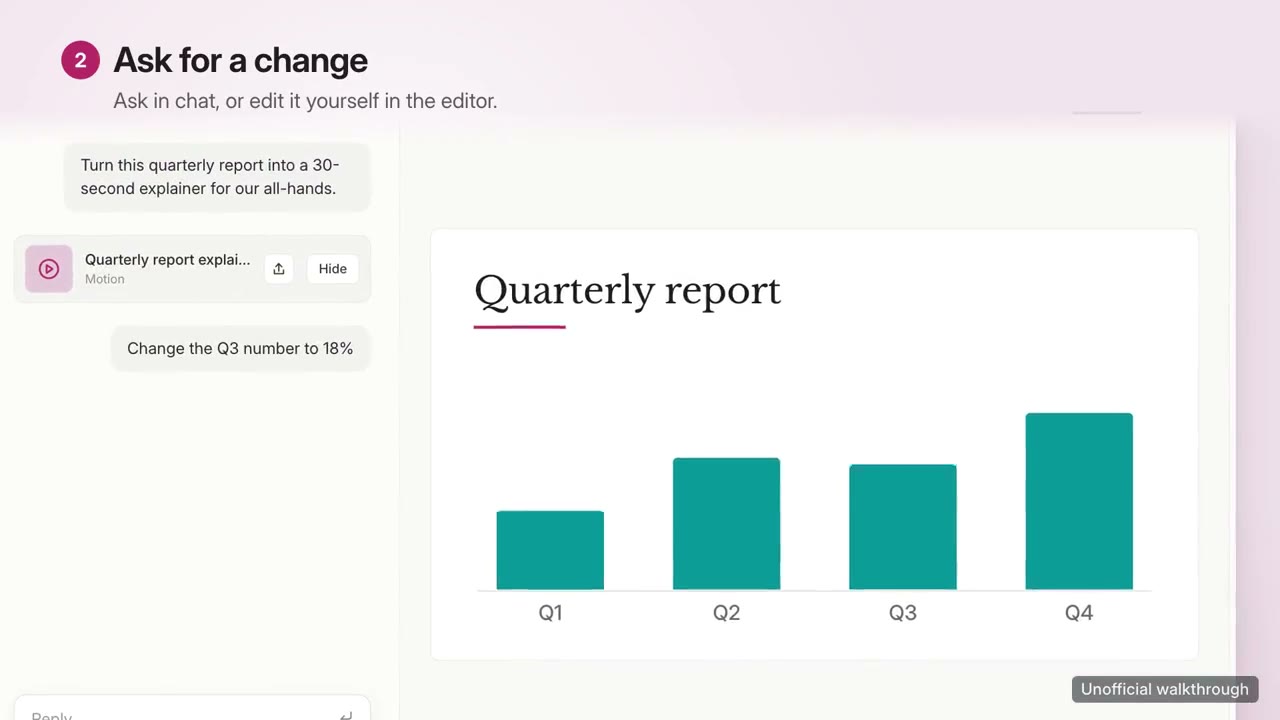
始めるのに必要なのは
API キー不要これだけで始められます
- サイトやアプリ
依存環境
Node.js 22+、FFmpeg、Chrome。API キー不要。
始める前に、エージェントが mo doctor で Node.js・FFmpeg・Chrome を確認し、足りないものは入れ方を案内します。このスキルにほかに必要なもの(字幕用の whisper など)があれば、説明に書いてあります。
プロンプト例
Use the walkthrough-director skill to make a 30-second onboarding walkthrough of this app in three steps, 16:9.
スタイルプロンプト(Claude Motion または Opus 5.5)
Make a 30-second 16:9 walkthrough for [who will watch, e.g. new users of our app], playing [where, e.g. our docs and onboarding email]. Use only the steps, commands, labels and screenshots I give below; don't change a word.

Show our interface used for real, one step at a time: each step's title settles, a cursor (or typed command) does one action, and the result appears and holds long enough to read. The camera pushes to where each step happens. End frame: the product name and the one command or link to start, held for 2 seconds.

Product: [name] (e.g. Plantpal)
Steps: [three steps] (e.g. "Add a plant" → "Take a photo" → "Get a care plan")
Attach: [screenshots of each step]
インストールは不要です。Claude Motion(Team または Enterprise)に貼り付けるか、Opus 5.5 に渡すと、近いルックになります。結果は実行のたびに変わります。スキルなら、手持ちの素材をもとに、お使いのパソコンで書き出します。