← 전체 스킬
사용법 안내 영상
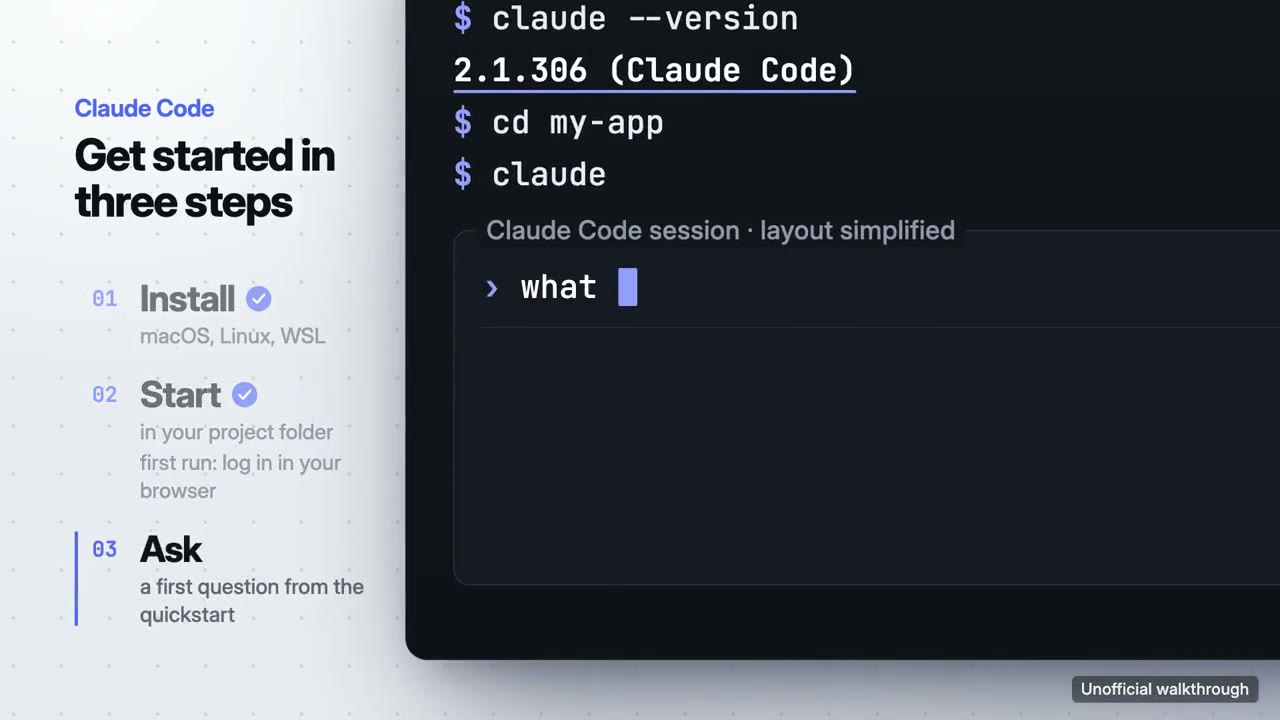
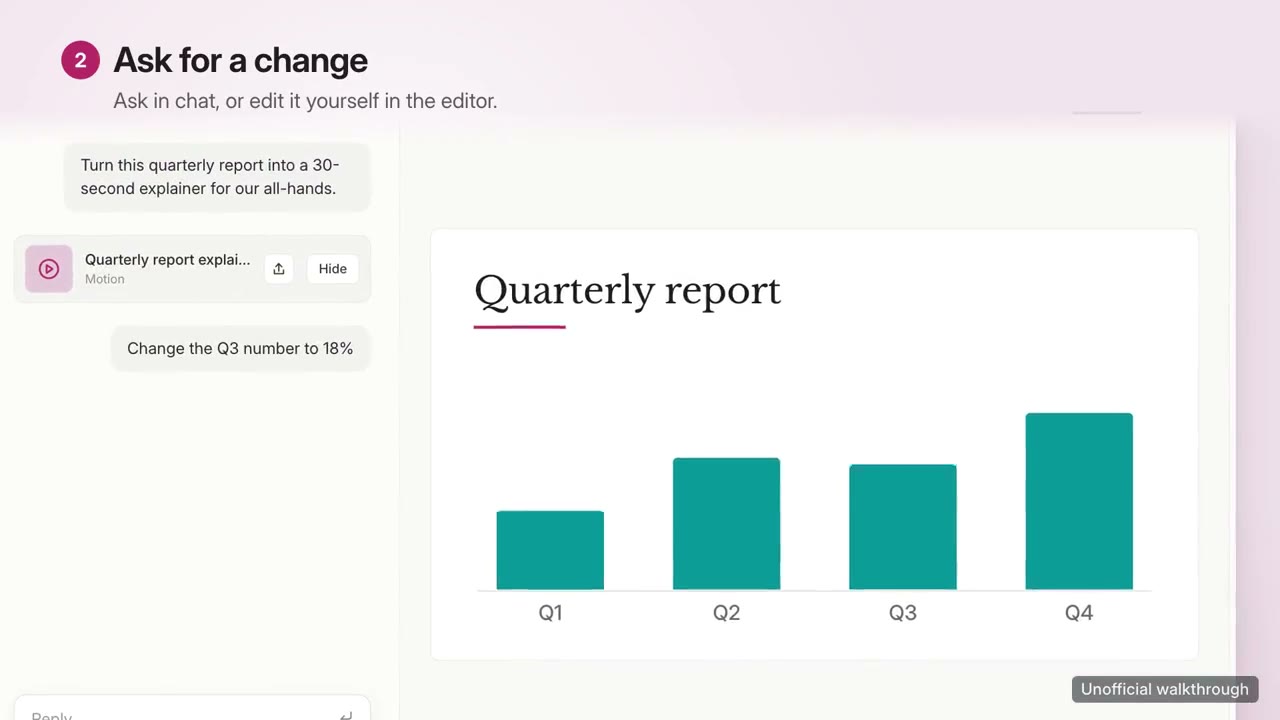
제품을 화면에서 실제로 사용해 보입니다. 세 단계 온보딩이나 기능 하나를 음악과 함께.
사용 방법
- 1설치 프롬프트를 복사해 에이전트에 붙여 넣으세요.
- 2에이전트가 mo doctor로 Node.js, FFmpeg, Chrome을 확인하고, 없는 것은 설치 방법을 알려 줍니다.
- 3자료를 주면 내 컴퓨터에서 MP4로 렌더링합니다. 고칠 곳은 말로 요청하면 됩니다.
Claude Code, Codex, Cursor 등 스킬을 지원하는 에이전트에 붙여 넣으세요.
이 스킬로 만든 영상
시작에 필요한 것
API 키 불필요이것만 있으면 시작할 수 있어요
- 웹사이트나 앱
실행 환경
Node.js 22+, FFmpeg, Chrome. API 키 불필요.
시작하기 전에 에이전트가 mo doctor로 Node.js, FFmpeg, Chrome을 확인하고 없는 것은 설치 방법을 알려 줍니다. 이 스킬에 더 필요한 것(자막용 whisper 등)이 있으면 설명에 적혀 있습니다.
프롬프트 예시
Use the walkthrough-director skill to make a 30-second onboarding walkthrough of this app in three steps, 16:9.
스타일 프롬프트 (Claude Motion 또는 Opus 5.5)
Make a 30-second 16:9 walkthrough for [who will watch, e.g. new users of our app], playing [where, e.g. our docs and onboarding email]. Use only the steps, commands, labels and screenshots I give below; don't change a word.

Show our interface used for real, one step at a time: each step's title settles, a cursor (or typed command) does one action, and the result appears and holds long enough to read. The camera pushes to where each step happens. End frame: the product name and the one command or link to start, held for 2 seconds.

Product: [name] (e.g. Plantpal)
Steps: [three steps] (e.g. "Add a plant" → "Take a photo" → "Get a care plan")
Attach: [screenshots of each step]
설치할 것이 없습니다. Claude Motion(Team 또는 Enterprise)에 붙여 넣거나 Opus 5.5에 주면 비슷한 룩이 나옵니다. 결과는 실행할 때마다 달라집니다. 스킬은 내 자료로 작업하고 내 컴퓨터에서 렌더링합니다.